For the purpose of this tutorial, I will be using the following testbox.
- Operating System : Ubuntu 18.04 64 bit LTS server
- IP address : 192.168.225.22/24
Install Apache webserver
To install Apache web server, run the following command from the Terminal:
$ sudo apt install apache2
Check if Apache web server is running or not:
$ sudo systemctl status apache2
● apache2.service - The Apache HTTP Server
Loaded: loaded (/lib/systemd/system/apache2.service; enabled; vendor preset: enabled)
Drop-In: /lib/systemd/system/apache2.service.d
└─apache2-systemd.conf
Active: active (running) since Fri 2018-07-06 11:42:35 UTC; 27s ago
Main PID: 2079 (apache2)
Tasks: 55 (limit: 2322)
CGroup: /system.slice/apache2.service
├─2079 /usr/sbin/apache2 -k start
├─2081 /usr/sbin/apache2 -k start
└─2082 /usr/sbin/apache2 -k start

Jul 06 11:42:35 ubuntuserver systemd[1]: Starting The Apache HTTP Server...
Jul 06 11:42:35 ubuntuserver systemd[1]: Started The Apache HTTP Server.
Apache service is loaded and running!
Adjust firewall to allow Apache web server
By default, the apache web browser can’t be accessed from remote systems if you have enabled the UFW firewall in Ubuntu 18.04 LTS. You must allow the http and https traffic via UFW by following the below steps.
First, let us view which applications have installed a profile using command:
$ sudo ufw app list
Available applications:
Apache
Apache Full
Apache Secure
OpenSSH
As you can see, Apache and OpenSSH applications have installed UFW profiles.
If you look into the “Apache Full” profile, you will see that it enables traffic to the ports 80 and 443:
$ sudo ufw app info "Apache Full"
Profile: Apache Full
Title: Web Server (HTTP,HTTPS)
Description: Apache v2 is the next generation of the omnipresent Apache web
server.

Ports:
80,443/tcp
Now, run the following command to allow incoming HTTP and HTTPS traffic for this profile:
$ sudo ufw allow in "Apache Full"
Rules updated
Rules updated (v6)
If you want to allow https traffic, but only http (80) traffic, run:
$ sudo ufw app info "Apache"
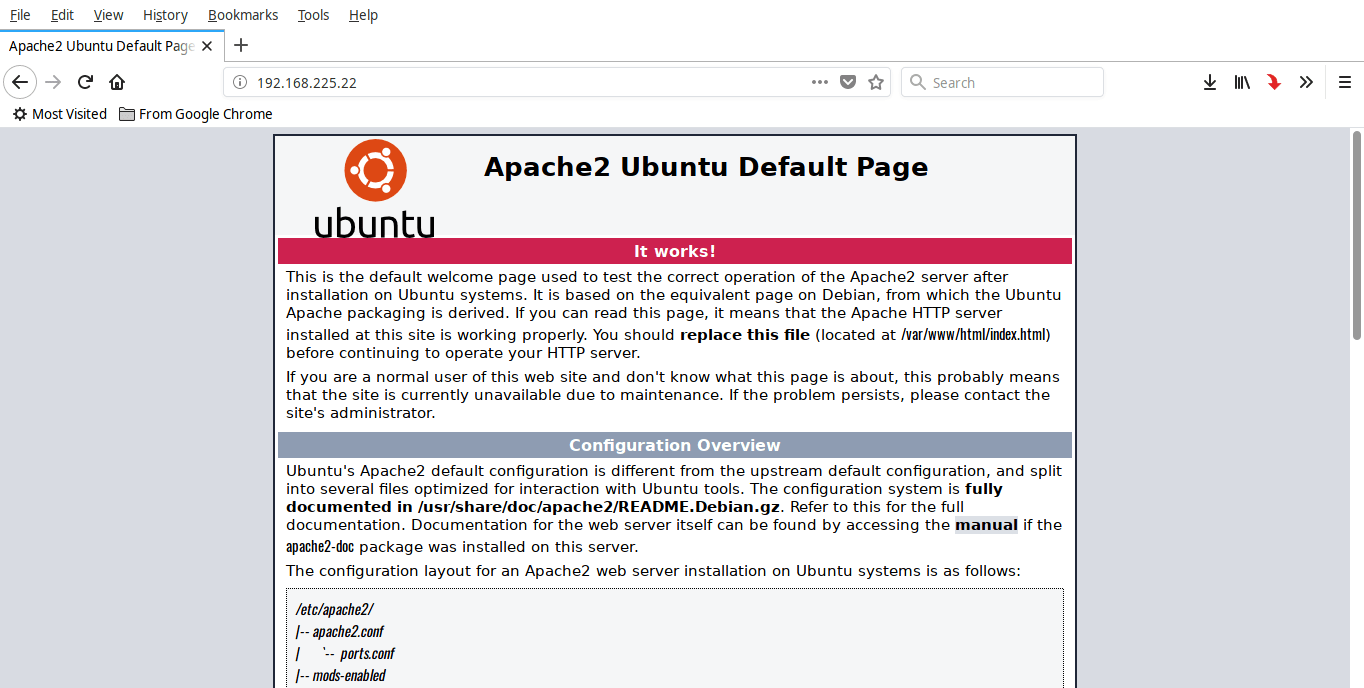
Now, open up your web browser and navigate to http://localhost/ or http://IP-Address/.
If you are see a screen something like above, you are good to go. Apache server is working!
Source:
- https://www.ostechnix.com/install-apache-mariadb-php-lamp-stack-ubuntu-16-04/
